How to Set Up a Team Workspace in Speak-Y, Step by Step
A Speak-Y workspace is a private space for one team, with its own channels and members, where meeting transcripts, summaries and action items are shared end-to-end encrypted. Setting one up takes four steps in the macOS app: create the workspace from the sidebar, set your team encryption password, save the Recovery Kit, and send invite links to colleagues.
The short version of the rules: creating a workspace starts on the Pro plan, teammates join free on any plan including Free, and the app sends no emails on your behalf — you share each invite link yourself. Everything below is the current macOS app, checked against it on 30 September 2026.
If you want the reasoning behind the encryption model first, how end-to-end team sharing works explains the keys; this guide is the clicks.
Before you start
You need three things, and the app will stop you politely if one is missing:
- A signed-in Speak-Y account with an email address. The team key is tied to your account email, so an anonymous session cannot create one.
- A plan that includes workspaces. Pro and higher, or the trial. On a plan without it, the sidebar offers "Join with a code" and an upgrade button instead.
- The macOS app. Workspaces are not in the Windows or iOS apps yet.
Your colleagues need even less: an account with an email, on any plan.
Step 1: Create the workspace
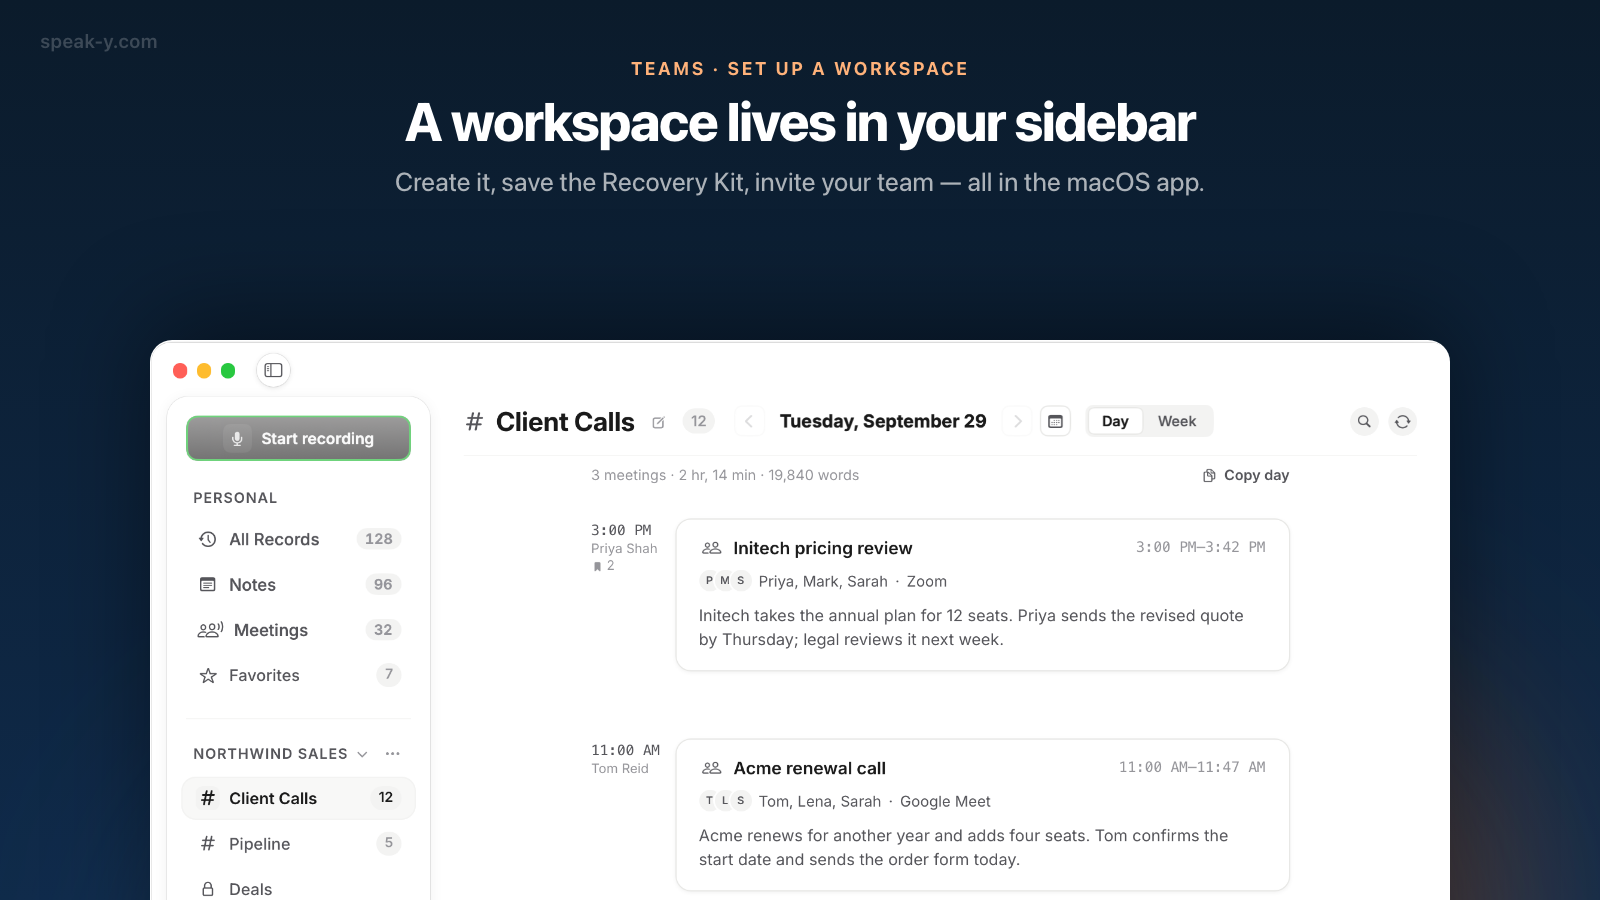
Workspaces live in the sidebar, not in Settings. Under your personal sections you will find a Workspaces heading. If you have none yet, it says "Create a workspace or join one with an invite code." Open the ⋯ menu next to it and choose New workspace.
The sheet asks for one thing, a name. Use the name your team already calls itself — "Northwind Sales", "Platform team" — because it is what invitees will see in their own sidebar.
The first time you create or join a workspace on a Mac, the same sheet adds a Team encryption key block: an encryption password, typed twice, at least eight characters. It creates your team key on this device and never leaves it. It is not your account password, and it is worth writing down: the Recovery Kit from the next step exists precisely because people forget this one.
Press Create. The workspace appears in the sidebar with its own ⋯ menu, where you will later find New channel and Edit workspace.
Step 2: Save the Recovery Kit
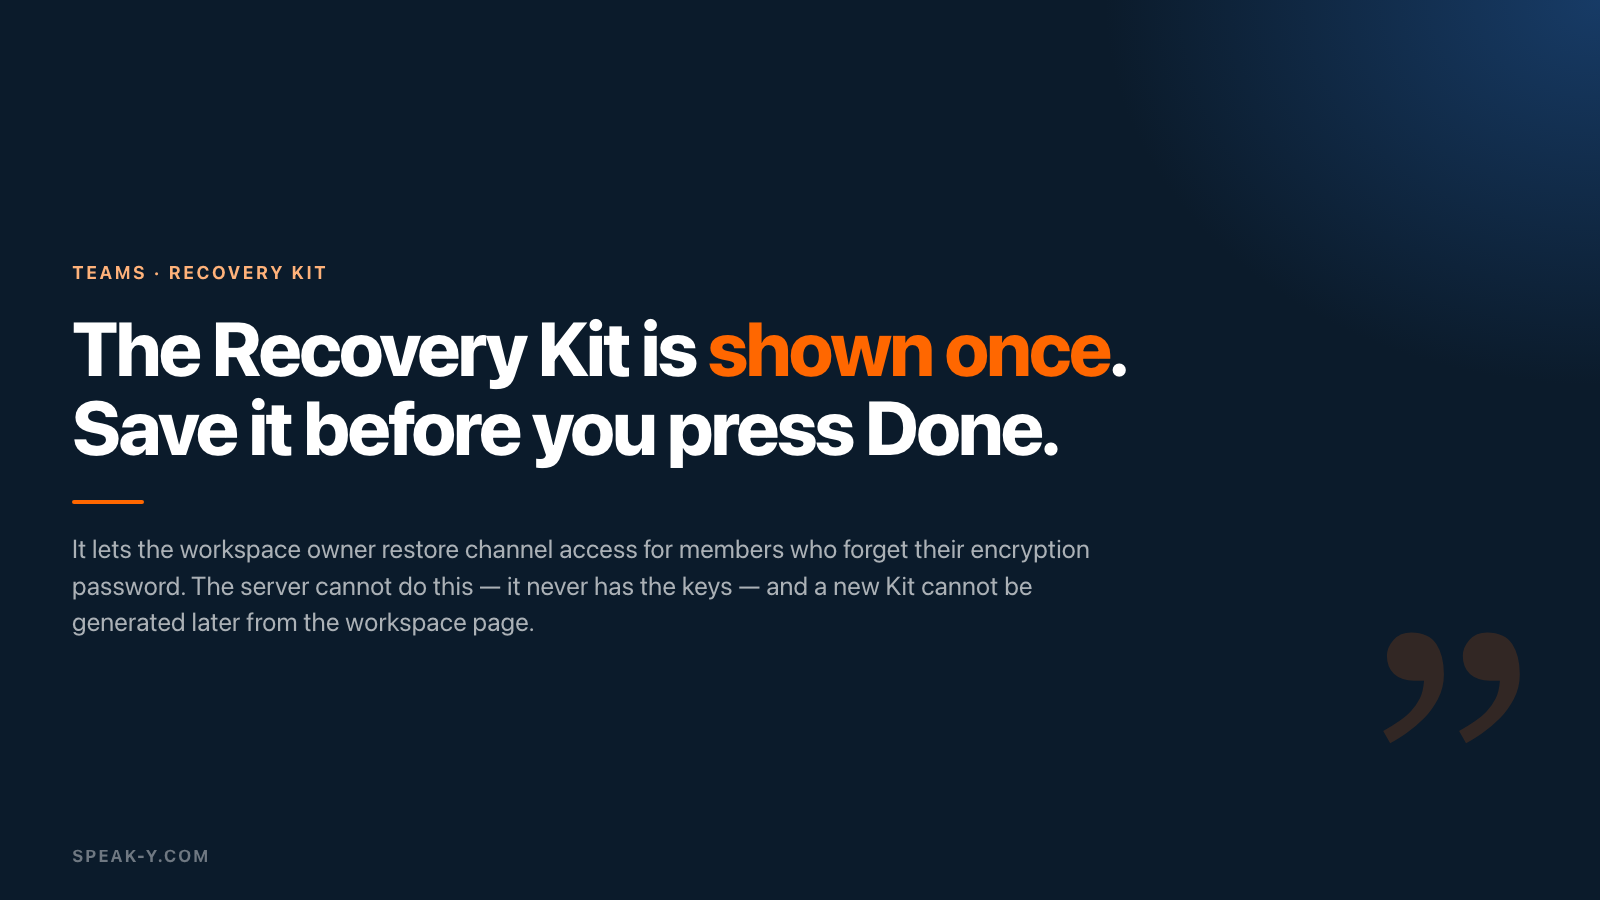
Right after the workspace is created, Speak-Y shows the Workspace Recovery Kit, with a warning that is meant literally: "Shown once — save it now."
The Kit is a file that lets the owner restore channel access for a member who has forgotten their encryption password. The server cannot do that for you: it never has the keys. So the app makes saving the Kit a step you cannot skip. Save Recovery Kit… opens a normal save dialog; only after the file is saved can you tick "I saved the Recovery Kit in a safe place", and only then does Done become available. There is no Cancel.
Treat the file like a spare key to the office. Keep it somewhere that is not the Mac it was made on — a password manager's file attachments or an encrypted drive — because a Kit that dies with the laptop recovers nothing. And note what it does not cover: "Personal recordings are never covered by the Kit." It is about team channels only.
Step 3: Create a first channel
An empty workspace gives invitees nothing to open, so create at least one channel before you send links. From the workspace's ⋯ menu choose New channel, give it a name and pick Public — everyone in the workspace can see it — or Private, visible only to you and the members you pick.
Start with one public channel per stream of meetings people actually look for later: a client, a project, the weekly planning. How to split channels and who should see what is a design question of its own, covered in who sees what in team channels.
Step 4: Invite your colleagues
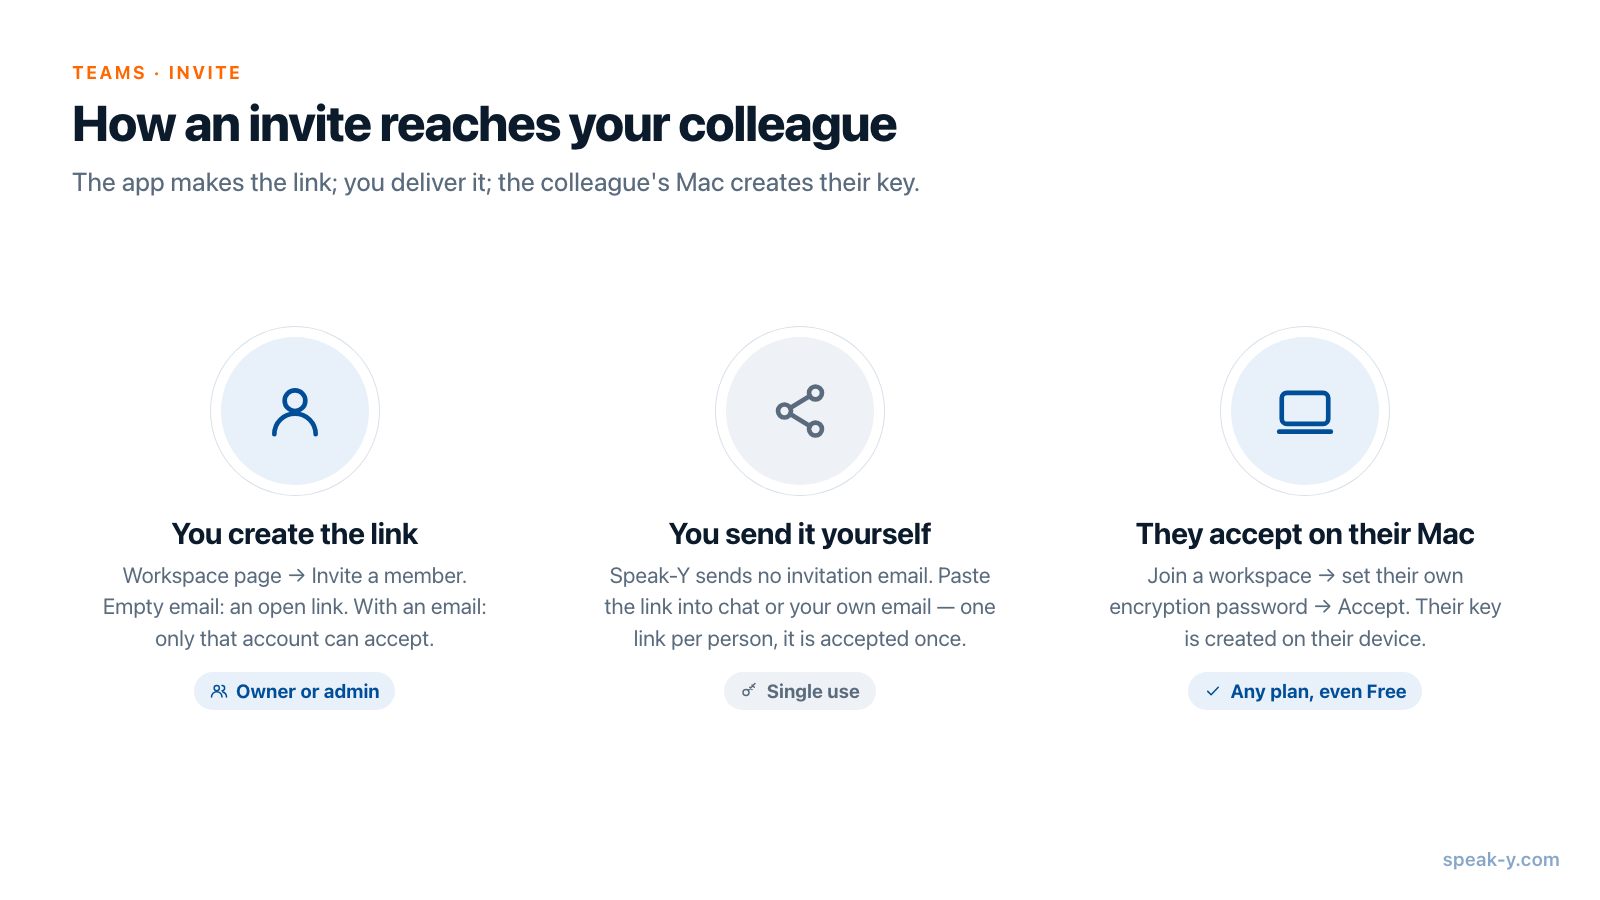
Open the workspace page (⋯ → Edit workspace) and go to the Members tab. Below the member list is Invite a member, with one field, for an email, and a button whose label follows it:
- Leave the field empty and the button reads Create link: you get an open invite link that the first person to accept will use.
- Type an email and the button reads Invite: the link then works only for an account signed in with that exact email.
Either way the result is the same — "Share this invite link:" with a copy button — and the next move is yours. Speak-Y does not send an invitation email. Paste the link into Slack, Teams chat or an email you write yourself.
Three properties of the link are worth knowing before you paste it into a busy channel. Each link is accepted once, so create one per person. Links do not expire on their own. And in the current release, 1.17.14, everyone joins as a Member; inviting is something the workspace owner or an admin does.
What your colleague sees
Clicking the link opens Speak-Y with a Join a workspace sheet. If they received the link as text — some chats do not make it clickable — Join with a code in the sidebar's ⋯ menu takes the same link or code.
The sheet shows the workspace name, their role and who invited them. If this Mac has no team key yet, they set their own encryption password right there — it creates their key on their device, just as yours did. Then Accept, and the app answers "You're in": the workspace appears in their sidebar.
One detail trips people up. Only workspace members can be added to a private channel, so someone who has not accepted the invite is not in the list yet, and a member without a team key shows up greyed out as "hasn't activated encryption yet". Invite first, add to private channels second.
The first ten minutes
Until the first channel exists, the workspace page shows owners and admins a short Get started checklist: create your team key, create a channel, invite people. Once you have a channel, the step that matters is sharing a recording — a channel with nothing in it teaches nobody to open it.
Share one real meeting on day one, ideally one everybody attended, so the first thing each invitee sees is something they recognise. From any recording, To channel sends its transcript, summary and action items into a channel; sharing a meeting to a team channel walks through what exactly goes and what stays on your Mac.
The full picture of what a workspace is for — searchable team memory, with channel keys that exist only on your team's devices — is on the Speak-Y Teams page.
FAQ
Which Speak-Y plan do I need to create a team workspace?
Creating a workspace starts on the Pro plan and is also available during the trial. People you invite do not need a paid plan: joining by invitation works on any plan, including Free, so the cost does not grow with the size of the team.
Does Speak-Y email the invitation to my colleague?
No. Speak-Y creates an invite link and you send it yourself, in chat or email. If you type the colleague's email before creating the link, only an account signed in with that email can accept it. Each link can be accepted once.
What is the Recovery Kit and do I have to save it?
It is a file shown once, right after you create a workspace, that lets the owner restore channel access for members who forget their encryption password. The app does not let you finish until you have saved it and confirmed that it is in a safe place, and a new Kit cannot be generated later from the workspace page.
Is the team encryption password the same as my account password?
No. It is a separate password that creates your team key on this Mac, and it never leaves the device. If you later enable cross-device sync, use the same password there, so your devices share one key.
Can I set up a Speak-Y workspace on Windows or iPhone?
Not yet. Workspaces, channels and sharing into them are in the macOS app. Transcripts shared into a channel are read in the macOS app as well; for someone outside the team, a public link to a single recording opens in any browser.